Add or Replace Harddisk on Running System
Views: 1242
If your computer allows hot swap of harddisks, you do not even need to shutdown your computer to add a harddisk that is part of a Linux Logical Volume Manager (LVM).
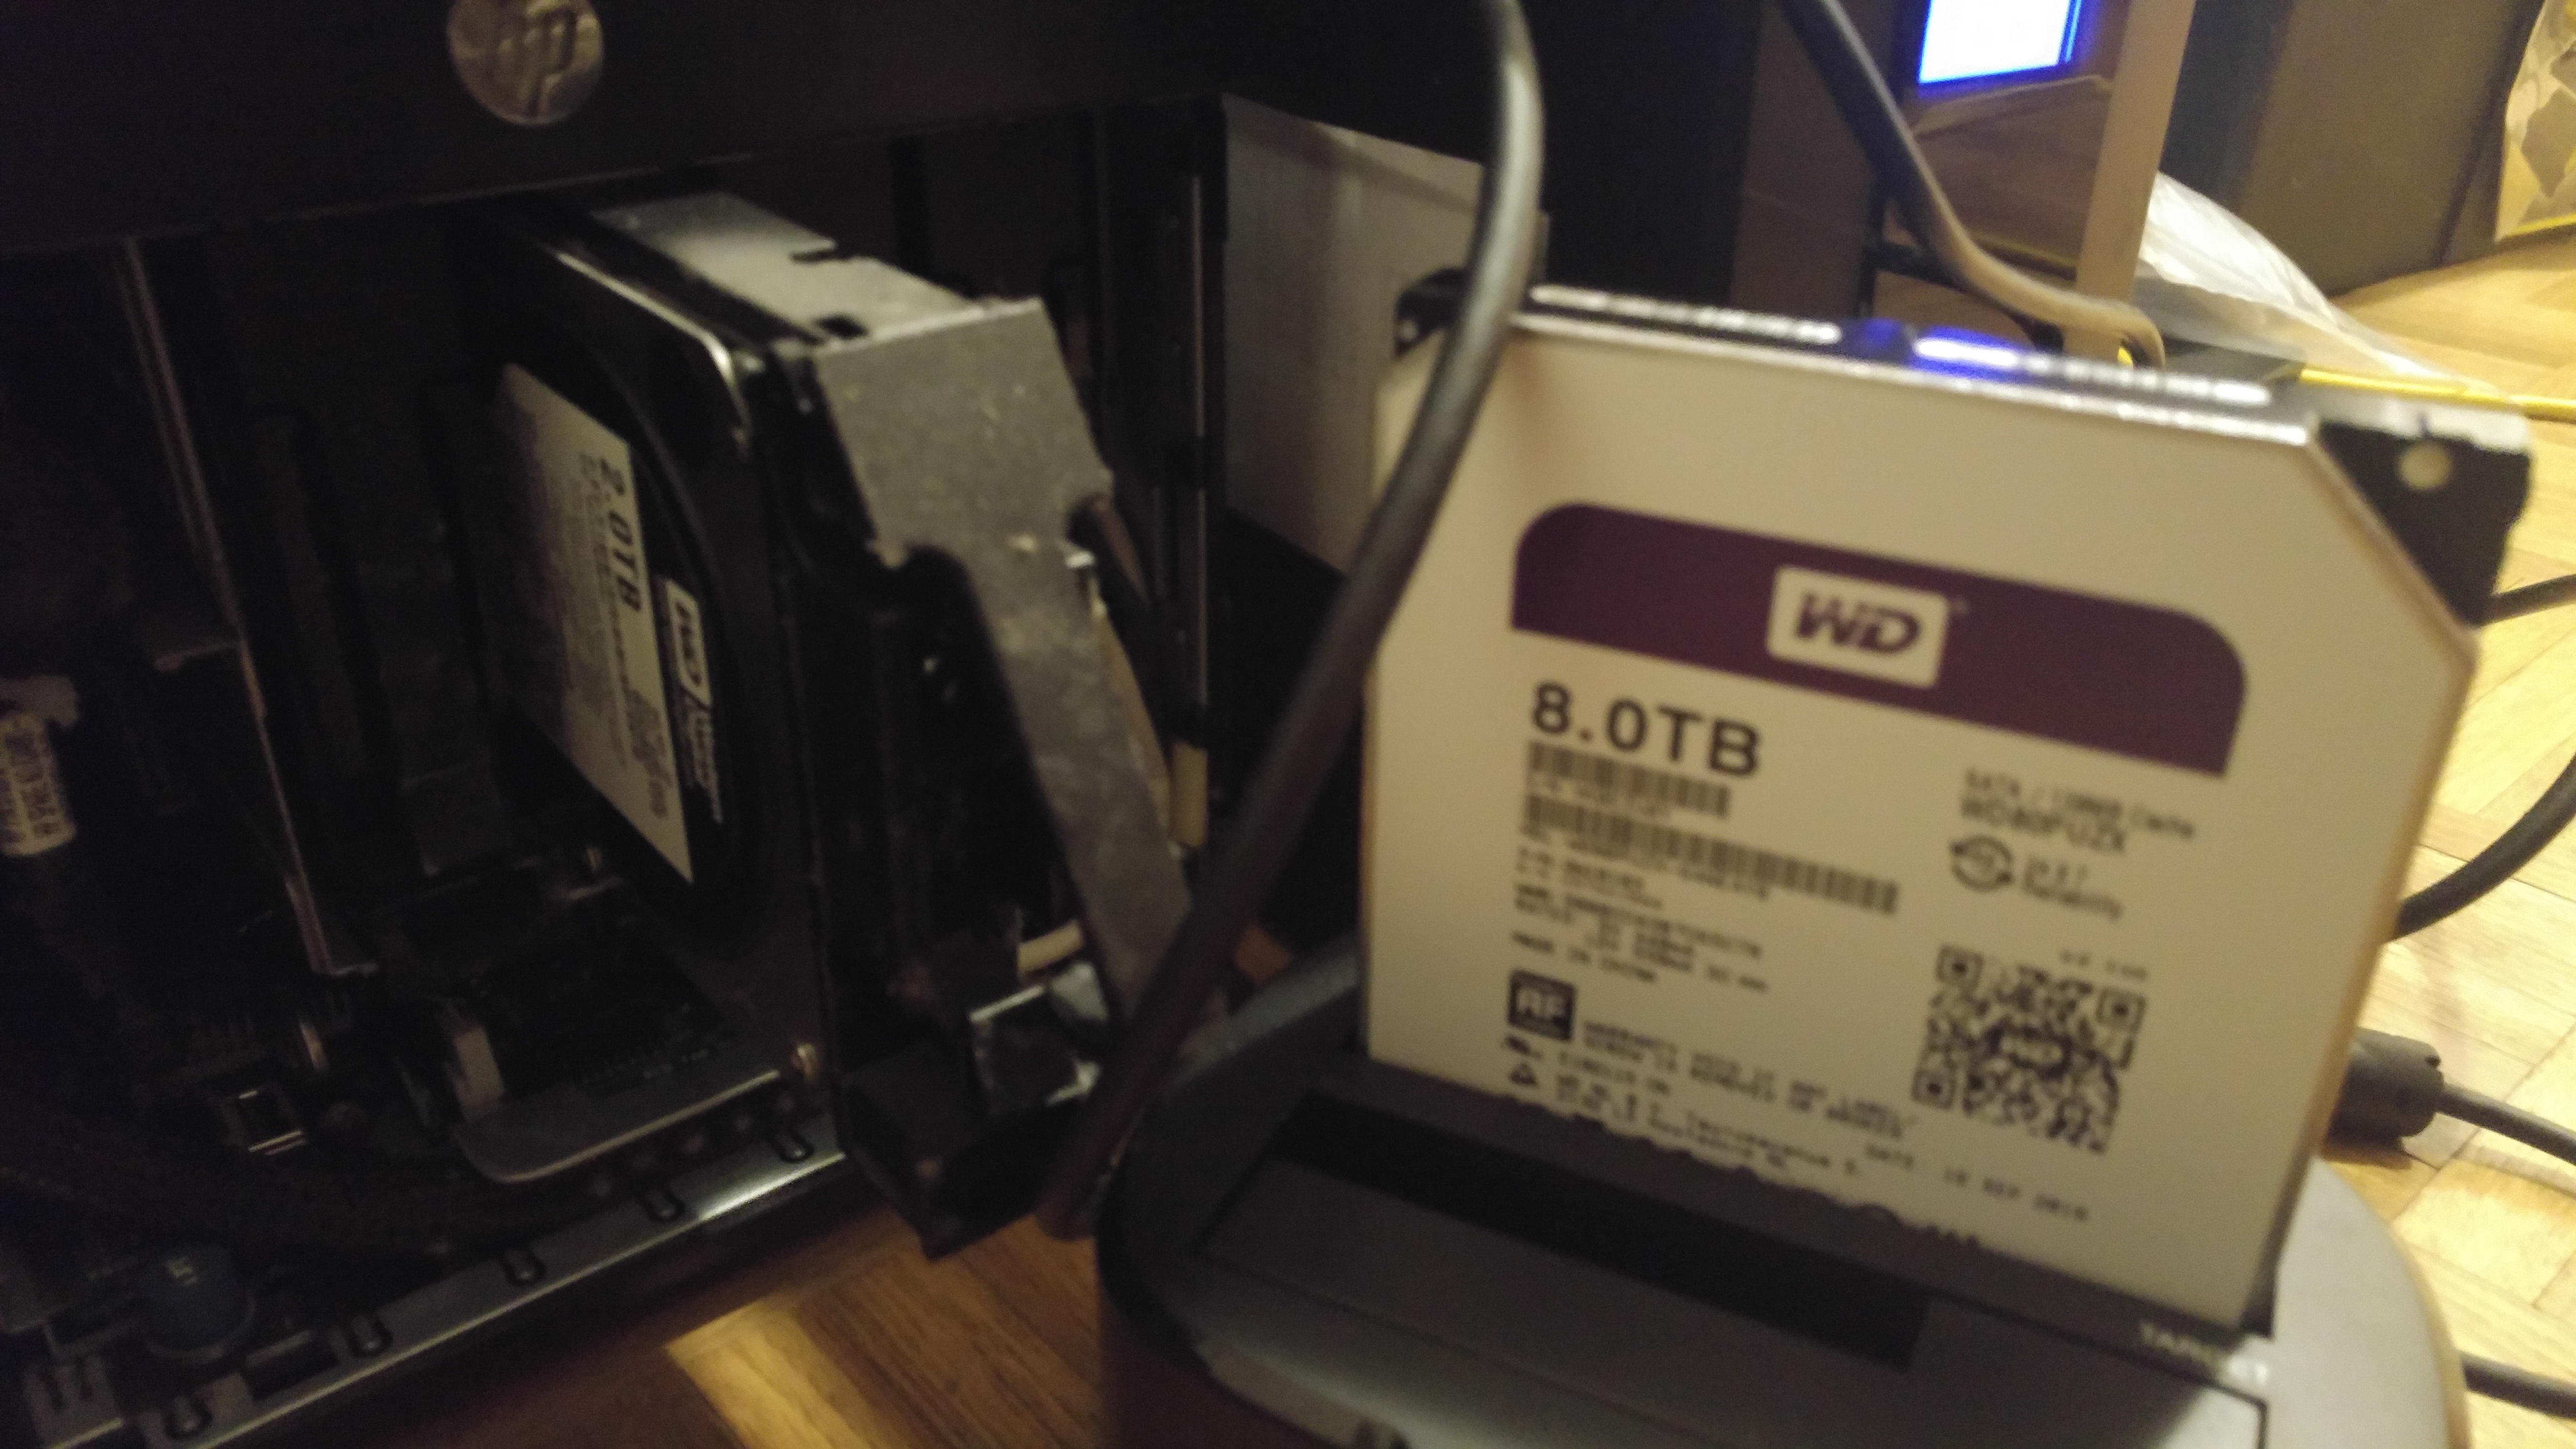
I have a HP ProLiant N36L, which offers 4 slots for harddisk. I bought it with the built in 250G Harddisk and an additional 2TB drive (I strongly recommend special 7dx24h server harddisk for servers that are always up; cheaper harddisks crash after a year; don’t buy Seagate, I lost two Seagate 8TB harddisks within a week).
I set it up with a 500MB /boot partition (formatted with ext2, then I merged the remaining space /dev/sda2 of the 250GB harddisk with the full second 2TB harddisk /dev/sdb1 using the logical volume manager LVM2. Then I encrypted this huge logical volume with dmcrypt cryptsetup and formatted with xfs. I configured this in the installer of the Ubuntu alternate-, respectively server installer.
Add New Harddisk To Encrypted Logical Volume
Then I had to add a next 2TB disk. Of course, I want to do this without destroying the data; not because I have no backup, but because restoring 2TB of lasts days. My shock was, other than during installation, there’s no LVM2-GUI that prevents me from hacking into the command line. So I had to find out the commands to manually add the space of the new disk. It was quite simple.
-
Add new Harddisk: First, shut down the system (if it does not support hotplugging), turn out the computer and add the new disk, then restart.
Here it is the third disk, so it’s/dev/sdc. After boot, login as root and start … -
Use
sudo parted /dev/sdc, thenmklabel gptandmkpart primary 0% 100%to create one large primary partition (alternatively: usesudo fdiskto init partition table and setup a primary partition/dev/sdc1with id8e) -
Create physical volume:
sudo pvcreate /dev/sdc1 -
Look for the name of the volume group with
sudo vgdisplay; in my case, it’s namedbig -
Extend the volume group by the new harddisk:
sudo vgextend big /dev/sdc1 -
Look for the name of the logical volume within the volume group with
sudo lvdisplay; in my case, it’s also namedbig -
Extend the logical volume by the new harddisk:
sudo lvextend /dev/big/big /dev/sdc1 -
Get the name of the mounted encrypted filesystem in
/dev/mapperby callingmount; in my case, it’s/dev/mapper/big-big_crypt -
Resize the encrypted filesystem to the new dimension:
sudo cryptsetup resize big-big_crypt -
Expand the filesystem, here it’s xfs, so I use
sudo xfs_growfs, otherwise useresize2fsfor ext2, ext3, ext4 orresize_reiserfsfor reiserfs, orbtrfs filesystem resizefor btrfs. -
That’s it. resized a running system, no reboot necessary.
df -h /now shows that my filesystem now has a bit less than 4TB. Before, it was a bit less than 2TB (yes, a «2TB» harddisk is much smaller than 2TB, that’s part of the day-to-day ceating).
Replace a Small Harddisk With a Bigger
Now that my harddisks are all full, I replace the oldest 2TB harddisk by a 8TB sized one. This will increase my overall size from 12TB to 18TB.

- Attach the new harddisk externally (since there is no free internal slot available) with a SATA to USB adapter. This is my drive
/dev/sde. - I cannot partition this huge harddisk with fdisk, so I use
parted /dev/sdeand within thismklabel gptto initialize a GPT patition andmkpart primary 0% 100%. Quit withquit. - Create a physical volume:
sudo pvcreate /dev/sde1 - Look for the name of the volume group with
vgdisplay; in my case, it’s namedbig - Extend the volume group by the new harddisk:
sudo vgextend big /dev/sde1 - This step is now different to the instructions above: At this moment move all data away from the old harddisk that you want to remove. For me, this is
/dev/sd1with partition/dev/sdb1, so I move all the data away (to the new harddisk) using the command:sudo pvmove /dev/sdb1This process is very slow, it took two full days to finish and to move all the 2TB to the new disk. - First remove
/dev/sdb1from the volume group:sudo vgreduce big /dev/sdb1 - Now I can savely remove
/dev/sdb1from the logical volume group:sudo pvremove /dev/sdb1from now on, the old harddisk does no more belong to the volume group and no more contains a logical volume. It can now be safely removed. - You can use the commands
vgs,lvsandpvsto list all volume groups, logical volumes and physical volumes. Callsudo pvsto check that/dev/sdb1is unused:$ sudo pvs PV VG Fmt Attr PSize PFree /dev/sda2 big lvm2 a-- 5.46t 0 /dev/sdb1 lvm2 a-- 1.82t 1.82t /dev/sdc1 big lvm2 a-- 1.82t 0 /dev/sdd1 big lvm2 a-- 1.82t 0 /dev/sde1 big lvm2 a-- 7.28t 5.46t
- Look for the name of the logical volume within the volume group with
lvdisplay; in my case, it’s also namedbig - Extend the logical volume by the new harddisk:
sudo lvextend /dev/big/big /dev/sde1 - Get the name of the mounted encrypted filesystem in
/dev/mapperby callingmount; in my case, it’s/dev/mapper/big-big_crypt - Resize the encrypted filesystem to the new dimension:
sudo cryptsetup resize big-big_crypt - Expand the filesystem. Meanwhile I upgraded to btrfs, so I call
sudo btrfs filesystem show /to find the device id (1), thensudo btrfs filesystem resize 1:max /. For xfs, usexfs_growfs, otherwise useresize2fsfor ext2, ext3, ext4 orresize_reiserfsfor reiserfs. - That’s it. replaced an existing harddisk, up to now without reboot.
df -h /now shows that my filesystem now has 17TB. Before, it was a bit less than 12TB. - Now I shut down the computer, disassemble
/dev/sdband insert/dev/sdein the now empty slot, then restart.
